Loadouts
WARDOGS Medic Loadout: Starter Kit & T-21 Budget
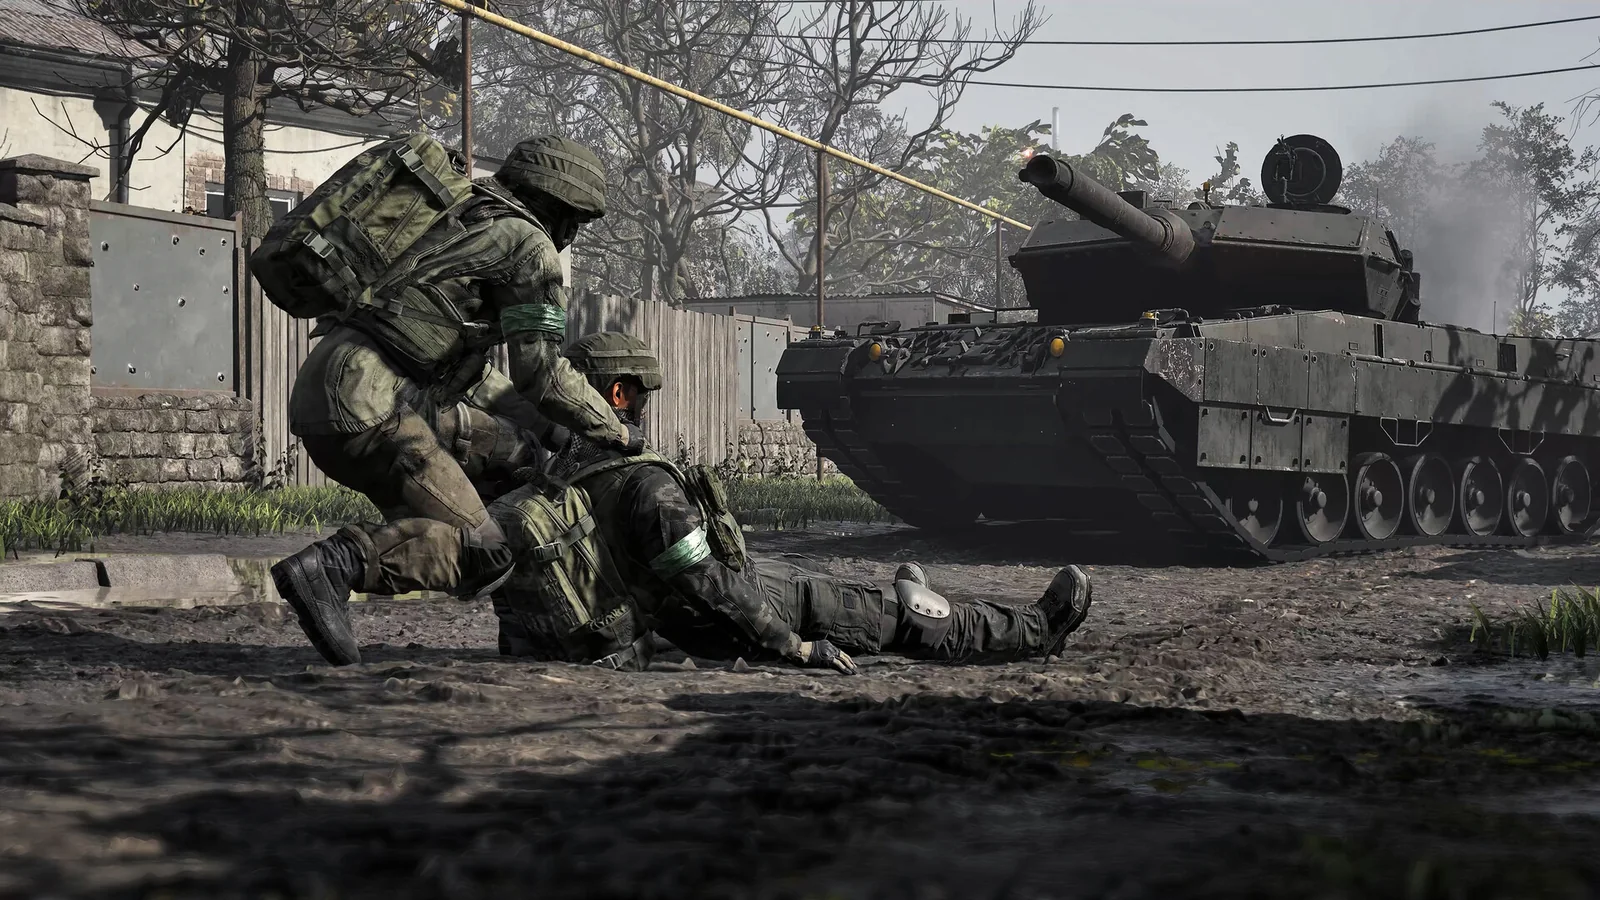
Build this support kit around a usable starter rifle, compatible loaded ammunition, one Emergency Resuscitator and five bandages as an initial packing target. Stay near a squad, revive from a covered approach, then heal the recovered teammate. Increase supplies only when your actual runs justify carrying more.
On this page
A starting medical-support packing list
Use these quantities as a starting recommendation. Choose the starter rifle your faction offers and check the completed vendor loadout before deploying.
| Item and suggested quantity | Purpose |
|---|---|
| Faction starter rifle — 1 | Keeps a working primary weapon without buying a specialist gun just to play support. |
| Loaded compatible magazine — 1 in the weapon | Verify the rounds are loaded, not merely that a magazine is present. |
| Filled spare magazine — 1 | Keeps you useful after the opening fight; compatibility depends on the rifle. |
| Emergency Resuscitator — 1 | Provides the quicker rescue option once during a life. |
| Bandages — 5 to begin | Covers self-healing and treatment after revives; adjust from actual consumption. |
| Backpack — One with room for the completed kit | Inspect available space and carried weight after packing. |
| Parachute — Only for an airborne insertion plan | Ground transport does not justify copying an airborne kit blindly. |
Keep the whole kit affordable to replace
The Emergency Resuscitator costs $0 at the vendor, but the rest of the loadout still needs a budget. Read the current vendor prices for the selected rifle, magazines, ammunition, backpack and bandages. Keep an unlock fee separate from the cost of buying an item again.
Enter each paid line in the budget planner, using the quantity and unit actually sold by the vendor. Count included ammunition only once. Reserve cash for another complete kit before spending on optional optics or a sidearm.
Five bandages is an opening allocation, not a full-match guarantee. Raising it increases recurring cost and carried supplies. Make that change when you routinely reach teammates and use the existing reserve, rather than assuming more inventory fixes an unsafe rescue route.
Upgrade to a T-21 assault-medic kit
Choose the T-21 when you want automatic rifle fire while staying with squad medical support. Keep the starter rifle if buying the upgrade would consume the cash for your next run. The T-21 rifle costs $600 in this Season 1 reference; its magazines are separate purchases.
The configuration below equips one full 20-round FMJ magazine in the rifle and carries one full spare, 80 loose FMJ rounds, ten Bandages and the $0 Emergency Resuscitator when available. Level 1 protection, Small Tac Vest, Scout Backpack and Basic Parachute complete the equipment selection. No optional optic, grip or muzzle device is included.
The packed Scout Backpack is at 8/8 capacity with the ten-bandage setup. Do not add another reserve, binoculars or extra medical equipment without making space or choosing a larger bag. Use the parachute for the airborne insertion planned by this configuration.
This table is the recurring purchase budget for the listed paid items. Required unlocks must already be available; any outstanding unlock payment is separate. The Emergency Resuscitator is limited to one per life, even though its purchase price is zero.
| Equipment | Quantity | Unit | Unit price | Line total |
|---|---|---|---|---|
| T-21 | 1 | one rifle; loaded magazines purchased separately | $600 | $600 |
| T-21 compatible 20-round magazine — loaded with FMJ | 2 | one compatible magazine including 20 FMJ rounds | $40 | $80 |
| 5.56mm Standard (FMJ), 80 rounds | 1 | 80 loose rounds; not one round | $120 | $120 |
| Bandage | 10 | one bandage | $200 | $2,000 |
| Level 1 Helmet | 1 | one helmet | $200 | $200 |
| Level 1 Armor | 1 | one armor | $400 | $400 |
| Small Tac Vest | 1 | one vest | $100 | $100 |
| Scout Backpack | 1 | one backpack | $350 | $350 |
| Basic Parachute | 1 | one parachute | $100 | $100 |
| Purchase total — unlock fees separate | $3,950 |
Pack and use the T-21 setup
If ten Bandages is more than you use, reduce the next purchase to five. That removes one five-item stack and its cost; the observed five-bandage configuration occupies 7/8 backpack capacity. Keep the loaded rifle and spare magazine checks unchanged.
A bigger bag is useful only when you need to carry additional supplies. Prioritize a complete working medical kit and cash for another purchase before paying for an optional sight. Automatic fire does not remove the need to control your exposure or conserve ammunition.
- Select the T-21 and open its Ammo panel. Prepare two compatible 20-round magazines with Standard (FMJ); each ready magazine includes its fill.
- Load one magazine into the rifle and keep the other in the backpack. Confirm 20/20 in both places rather than counting two empty magazine icons.
- Add one 80-round loose FMJ reserve. This is refill ammunition, not a third ready magazine.
- Pack ten Bandages as two stacks of five and take the Emergency Resuscitator if available for this life. Equip the protection, vest, Scout Backpack and Basic Parachute shown in the checklist.
- Check the completed inventory and checkout. Begin with no optional weapon attachments, then price any additions separately before deployment.
- Choose an insertion beside your squad’s approach, with the battle in front of you. Use the rifle from cover between rescues; do not drop into the middle of the fight simply because you upgraded the weapon.
- After a rescue, heal the teammate as needed, check both medical and ammunition reserves, and arrange resupply before the next extended engagement.
Use a rescue, recovery and resupply loop
- Choose a squad working near the current objective. Plan how to reach them and where you can recover behind cover.
- Check the rifle, compatible reserve ammunition and medical quick-slot items before leaving the vendor.
- Follow from a position that lets you observe the fight without standing beside every exposed teammate.
- When someone falls, assess the approach. Use ordinary Revive when there is time and keep the one-use faster option for a rescue that benefits from it.
- Once the teammate is up, use the heal-friend bandage action as needed and move together out of the exposed position.
- Review bandages and ammunition after the engagement. Arrange replenishment before committing to another extended fight.
- At the next purchase, replace what you used and recheck the total. Rebuying the previous selection is a convenience, not proof that its quantities still suit the next mission.
Adapt the kit to what is stopping your squad
| What happens repeatedly | Adjustment |
|---|---|
| You use all five bandages while reaching casualties safely | Carry a larger healing reserve on the next run if the budget and space permit. |
| You die before treating anyone | Improve insertion and cover before adding medical inventory or a more expensive gun. |
| The Emergency Resuscitator has been used | Keep supporting with ordinary revives and healing; do not plan around unlimited quick revives. |
| A teammate already covers medical needs | Use the lighter infantry/spotting setup if that better serves the current squad. |
| The team needs construction or anti-vehicle equipment | Choose and budget the equipment for that distinct job; this kit does not supply it. |
What this loadout is designed to do
This is an accessible squad-support setup for repeat rescues and treatment. It does not rely on a premium weapon, a fixed cash-per-minute return or a guaranteed survival rate. Good timing and a usable route to the casualty determine whether the supplies help.
Continue your journey
Find more guides in the WARDOGS Wiki & Database.